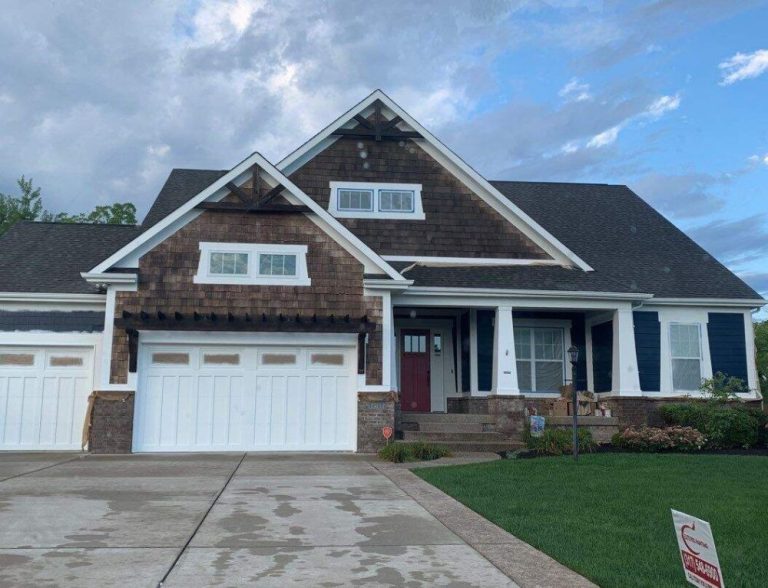
Painting Your Siding A Comprehensive Guide
Painting your siding is a rewarding home improvement project, transforming the exterior of your house and enhancing its curb appeal. This guide provides a comprehensive overview of every step, from preparation to maintenance, ensuring a professional-looking finish. We’ll explore various siding materials, paint types, and application techniques, equipping you with the knowledge and tools to tackle this task confidently.
From selecting the perfect paint colors that complement your home’s architecture to mastering the art of even application, this guide is your ultimate resource. We’ll delve into the nuances of preparation, covering crucial steps like cleaning, scraping, and patching to ensure optimal paint adhesion. Understanding the differences between vinyl, wood, and fiber cement siding is also key to achieving a flawless finish.
Preparation for Siding Painting

Proper preparation is crucial for a long-lasting and aesthetically pleasing siding paint job. Skipping this step can lead to premature paint failure, requiring costly repairs down the line. Thorough preparation ensures optimal paint adhesion and protects your investment.
Essential Materials
A well-stocked toolkit is essential for a successful siding painting project. This includes a range of materials catering to various siding types and painting techniques.
- Primers: Primers are essential for creating a smooth surface for the paint to adhere to. Different primers are formulated for various siding materials (vinyl, wood, fiber cement), ensuring the best possible paint adhesion and minimizing future issues.
- Paints: Choose paints specifically formulated for exterior use. Consider factors like durability, color retention, and resistance to weather conditions. Different paint types (latex, acrylic, oil-based) will each offer varying characteristics.
- Tools: Essential tools include brushes, rollers, sprayers (for larger surfaces), scrapers, putty knives, drop cloths, masking tape, and safety equipment like gloves and eye protection.
- Additives: Additives like mildewcide and sealant can enhance the paint’s lifespan and resistance to environmental elements. This can improve longevity and appearance.
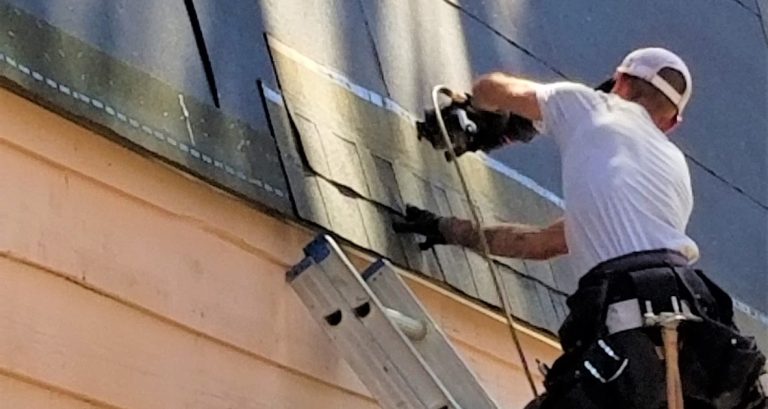
Siding Surface Preparation
A clean, smooth, and sound siding surface is paramount for a successful paint job. This involves several steps to ensure optimal paint adhesion.
- Cleaning: Thoroughly clean the siding surface to remove dirt, mildew, loose debris, and any existing deteriorated paint. Use a power washer or a solution of mild detergent and water, paying special attention to areas prone to mildew growth.
- Scraping: Remove any loose or flaking paint using a scraper. Be cautious not to damage the underlying siding material. Careful scraping prevents future paint issues.
- Patching: Repair any holes, cracks, or damaged areas with appropriate patching compound. Allow the patch to dry completely before proceeding to the next steps.
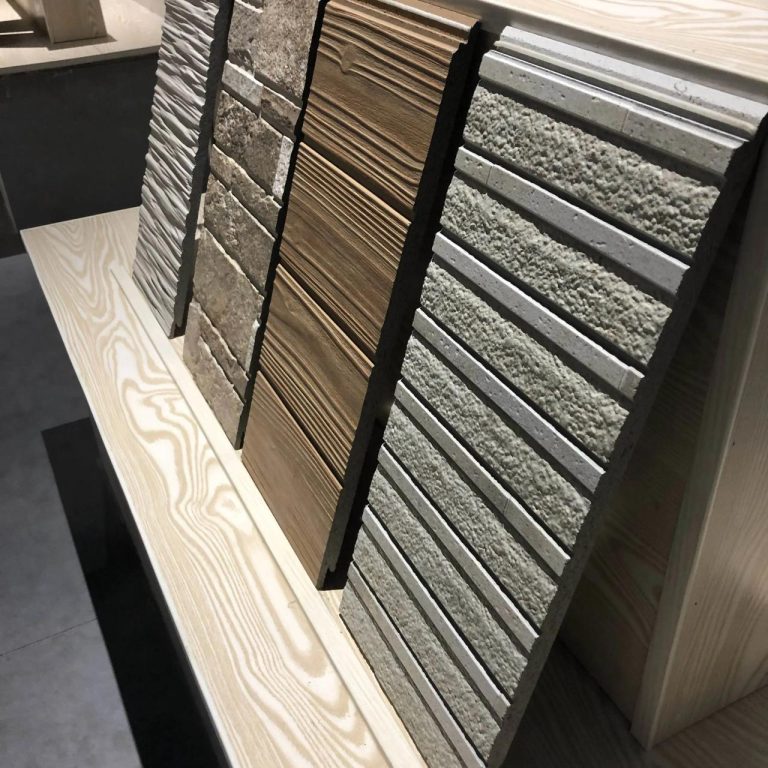
Siding Material Considerations
Different siding materials have unique preparation requirements. Understanding these differences is vital for achieving a high-quality finish.
- Vinyl Siding: Vinyl siding requires careful cleaning and minimal scraping. Avoid harsh chemicals that could damage the material. Use a mild detergent solution for cleaning.
- Wood Siding: Wood siding often requires more thorough preparation, including scraping and filling any gaps or rotted areas with wood filler. Ensure the wood is dry before painting.
- Fiber Cement Siding: Fiber cement siding is generally durable and requires less preparation than wood siding. However, thorough cleaning is still essential to remove any loose debris or dirt.
Masking Techniques
Proper masking prevents paint from getting on unwanted surfaces. Careful masking ensures a clean and professional finish.
- Using Masking Tape: Masking tape is an effective tool for creating clean lines around windows, doors, and trim. Apply tape carefully to avoid wrinkles or gaps.
- Using Drop Cloths: Place drop cloths or tarps under and around the area to be painted to catch drips and overspray.
- Using Shields: Using shields or other barriers to protect nearby areas, such as windows and walkways, can help to ensure a more controlled painting process. Use appropriate coverings.
Paint Type Comparison
Different paint types have different characteristics, each suited to different conditions. The best choice depends on the specific needs of the project.
| Paint Type | Pros | Cons |
|---|---|---|
| Latex | Easy to apply, good for most surfaces, low odor, water-based | Can be affected by extreme weather, might need multiple coats |
| Acrylic | Durable, resistant to mildew, UV-resistant | Can be more expensive than latex |
| Oil-based | Very durable, excellent for high-moisture areas | Strong odor, longer drying time, and more difficult to clean brushes |
Choosing the Right Paint and Colors
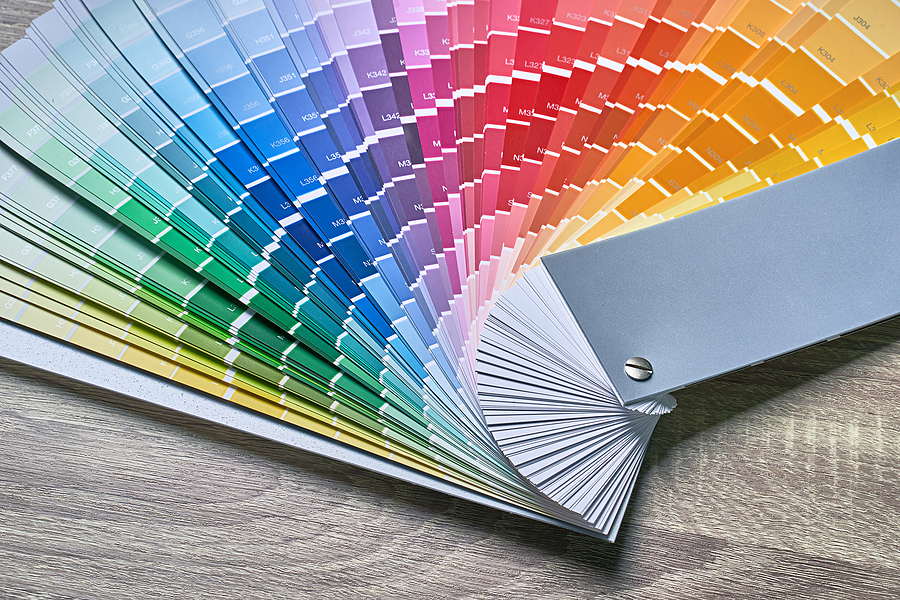
Selecting the appropriate paint for your siding is crucial for achieving a long-lasting, aesthetically pleasing result. Careful consideration of factors like durability, weather resistance, and color is essential for protecting your home’s exterior and maintaining its curb appeal. This section details important aspects to consider when choosing siding paint.
Choosing the right paint ensures your siding not only looks great but also stands up to the elements. Proper paint selection, considering factors like durability and weather resistance, significantly extends the lifespan of your siding. Furthermore, choosing colors that complement your home’s architectural style enhances its overall aesthetic appeal.
Paint Durability and Weather Resistance, Painting Your Siding
Paint durability and weather resistance are paramount for siding. Exterior paints must withstand the harsh elements of sun, rain, snow, and temperature fluctuations. Look for paints specifically formulated for exterior use, as these are engineered to resist fading, cracking, and peeling. Consider the expected climate conditions in your area when selecting a paint; paints formulated for high-humidity environments, for instance, will have different formulations than paints intended for arid climates. A good quality exterior paint should also have a high level of adhesion to the siding material. This ensures that the paint adheres firmly to the surface, preventing it from flaking or chipping, thereby increasing the longevity of the paint job.
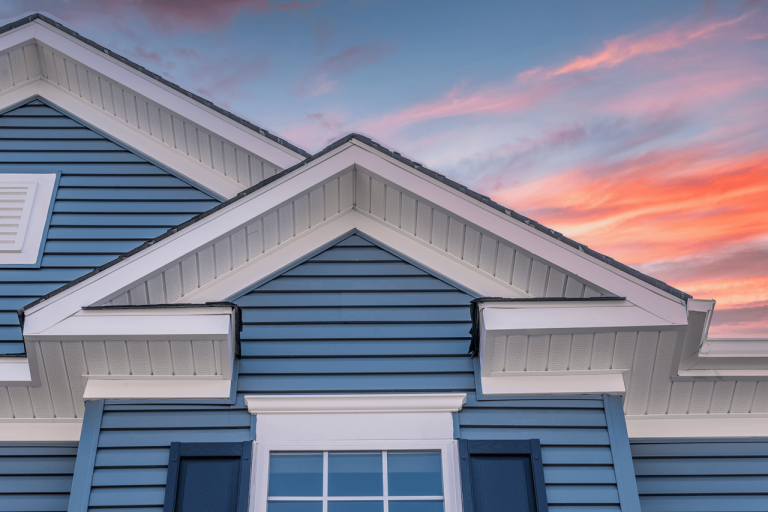
Paint Colors for Various Siding Types and Styles
Selecting the right paint color depends heavily on the siding material and architectural style. For example, a traditional clapboard home might look best with a rich, muted tone, while a modern, contemporary home could benefit from a bolder, more vibrant hue. Here’s a brief overview:
- Wood Siding: Warm, earthy tones like browns, grays, and beiges complement the natural beauty of wood. Deep reds and blues can also be striking options. The warmth of the wood should be considered when selecting a color.
- Vinyl Siding: Vinyl siding can accommodate a wider array of colors. Consider colors that mimic natural wood tones, or bold and vibrant colors that make a statement.
- Stone or Brick Siding: Stone and brick siding are often accented by colors that complement the natural tones of the stone or brick. Consider softer, muted colors or colors that enhance the natural texture of the material.
Paint Finishes and Their Effects
Different paint finishes affect both the appearance and durability of siding. Understanding these effects is crucial for making the best choice.
- Matte: This finish provides a subtle, non-reflective look, creating a softer, more natural appearance. It often hides imperfections in the siding better than other finishes, though it might show more noticeable dirt.
- Satin: This finish provides a moderate level of sheen, balancing the subtle appearance of a matte finish with a touch of reflectivity. It’s a good balance of hiding imperfections and resisting dirt.
- Gloss: This finish offers the highest level of reflectivity, creating a highly noticeable, polished look. It can enhance the siding’s visual appeal but might be more prone to showing imperfections and dirt. Gloss finishes are often less durable than matte or satin finishes due to increased reflectivity and increased exposure to the elements.
Color Moods and Atmospheres
The right color can evoke specific moods and atmospheres. This is especially important when considering the overall aesthetic you want to achieve.
| Color | Mood/Atmosphere |
|---|---|
| Soft Blues | Tranquil, calming |
| Earthy Greens | Peaceful, natural |
| Warm Reds | Energetic, inviting |
| Neutral Grays | Modern, sophisticated |
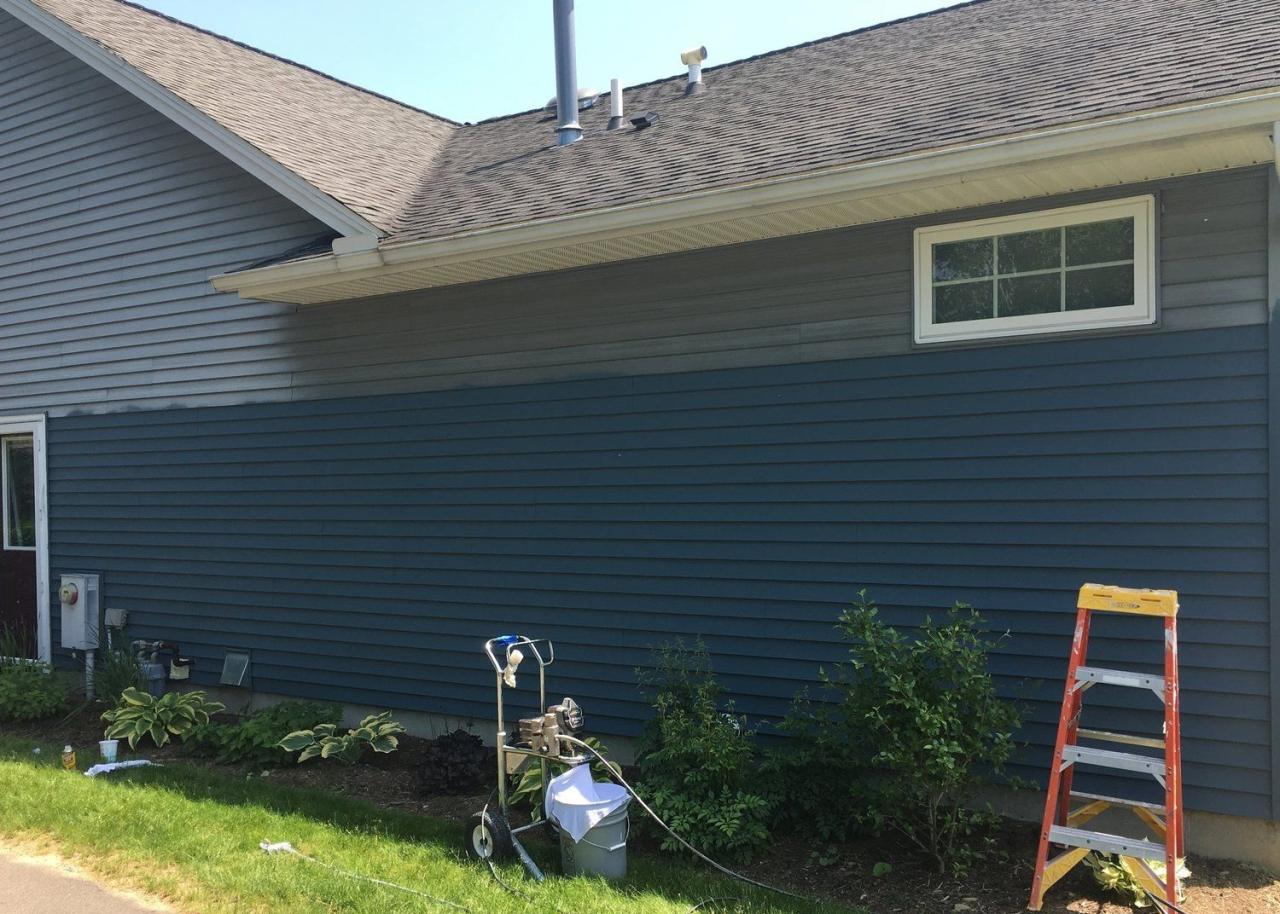
Achieving Consistent Color Throughout Painting
Consistency in color is essential for a professional-looking paint job. Proper preparation of the surface, careful application of the paint, and using the same paint batch throughout the project are key steps in achieving a uniform color. Using a color-matching service or obtaining a large enough sample to accurately predict the color outcome in different lighting conditions is a good idea. Mixing different batches of paint can lead to noticeable color variations.
Painting Techniques and Methods
Proper painting techniques are crucial for achieving a professional finish and ensuring the longevity of your siding. Understanding the best methods for applying paint, along with preventative measures for common issues, will save you time, money, and frustration. Careful attention to detail, from initial application to handling potential problems, is key to a successful siding painting project.
Brush Techniques
Brush techniques offer precision and control, particularly useful for intricate details or areas with limited access. Using the right brush type is paramount. A high-quality angled brush is ideal for siding, allowing for precise application in corners and along trim. Begin by loading the brush with a moderate amount of paint, avoiding excessive saturation. Apply the paint in smooth, even strokes, working in a consistent direction. Overlapping strokes should be minimal, ensuring an even coat. It is important to maintain a consistent pressure on the brush, avoiding excessive pressure, which can lead to paint buildup and streaking. Allow the first coat to dry completely before applying subsequent coats.
Roller Techniques
Roller techniques are generally faster and more efficient for larger areas of siding. The selection of a suitable roller is crucial; a high-quality, nap-appropriate roller for your paint type is recommended. A nap that is too short will result in uneven coverage, while a nap that is too long will trap too much paint and lead to runs. Apply paint to the roller in a circular motion and roll it onto the siding in consistent, overlapping strokes, avoiding excessive pressure. Maintain consistent and even coverage across the entire surface, paying close attention to corners and edges.
Spray Techniques
Spray techniques are the most efficient for large siding projects. An airless sprayer is often preferred for its speed and controlled application, offering excellent coverage. The correct pressure and distance from the surface are critical to prevent runs and drips. Maintaining a consistent distance is key to ensuring an even application, while improper pressure can lead to paint buildup or insufficient coverage. Spraying in overlapping patterns, working in a uniform direction, is recommended to avoid gaps and ensure even coverage.
Managing Painting Problems
Drips, runs, and sags are common issues during siding painting. Drips can be addressed by working in sections and allowing the paint to dry between coats. Runs can be mitigated by using a thinner paint consistency, and proper technique. Sagging paint may be a result of too much paint on the roller, improper technique, or temperature issues. Allowing the surface to dry thoroughly before applying subsequent coats can help prevent these problems.
Safety Precautions
Safety should be a top priority during any painting project. Use appropriate safety gear, including gloves, eye protection, and a respirator, especially when using spray techniques. Ventilation is crucial, especially when using spray paint, to avoid inhaling harmful fumes. Ensure the area is well-lit and free of obstructions, promoting safe movement and avoiding accidents. Properly store and dispose of paint and cleaning supplies according to local regulations.
Equipment Needed
| Painting Method | Equipment | Description |
|---|---|---|
| Brush Techniques | Paint brushes (angled) | High-quality angled brushes in appropriate sizes for detailed work. |
| Roller Techniques | Paint rollers | High-quality rollers with appropriate nap length for paint type. |
| Roller Techniques | Paint trays | For holding paint and distributing it evenly to the roller. |
| Spray Techniques | Airless sprayer | A pressure-based spray system designed for efficiency and coverage. |
| Spray Techniques | Spray gun | The nozzle through which paint is sprayed. |
| All Techniques | Paint | High-quality paint is suitable for siding materials. |
| All Techniques | Drop cloths | Protect surrounding areas from paint spills. |
| All Techniques | Safety Glasses | Protect your eyes from paint spray. |
| All Techniques | Gloves | Protect hands from paint and chemicals. |
| All Techniques | Respirator | Protect lungs from harmful fumes. |
Siding Painting Tools and Equipment

Source: thespruce.com
Proper tools are crucial for a successful siding painting project. Choosing the right equipment ensures efficient application, optimal paint coverage, and a professional finish. Selecting appropriate brushes, rollers, sprayers, and other accessories significantly impacts the overall quality and longevity of the painted surface.
The selection and maintenance of tools directly influence the quality of the finished siding. Careful consideration of each tool’s attributes, including brush type, roller nap, and sprayer capabilities, contributes to a superior painting outcome. Understanding the advantages and disadvantages of different types of tools allows for informed decisions, optimizing the painting process.
Brushes for Siding Painting
Brush selection is vital for achieving a clean, even coat on siding. Different brush types are designed for various tasks. Natural bristle brushes, for instance, are renowned for their excellent paint-holding capacity, allowing for detailed work. Synthetic brushes, on the other hand, offer superior durability and resistance to water damage, making them suitable for repeated use.
The size and shape of the brush play a significant role in the paint application process. Larger brushes are effective for covering wide areas, while smaller brushes excel at intricate details or edges. Consider the surface area to be painted when selecting the appropriate brush size. Maintaining brushes is key to extending their lifespan. Cleaning brushes thoroughly after use and storing them in a vertical position to prevent the bristles from drooping is crucial.
Rollers for Siding Painting
Rollers offer a faster method of applying paint to large surfaces. Different roller types, determined by the nap (the length of the fibers on the roller cover), are suitable for varying paint types and siding textures. A short-nap roller is best for smooth surfaces, minimizing the risk of roller marks, whereas a longer-nap roller is more appropriate for rougher surfaces. The roller frame should be chosen based on the ease of handling, the capacity of the paint tray, and the desired amount of paint coverage.
Using a quality paint tray is essential to ensure a consistent flow of paint to the roller. Clean the roller and tray thoroughly after each use to avoid clogging. Proper maintenance of rollers extends their usability. Rollers should be cleaned with soap and water, nd dried thoroughly before storage to prevent mold or mildew growth.
Sprayers for Siding Painting
Sprayers are often employed for larger siding projects to expedite the painting process. Airless sprayers deliver a high volume of paint, reducing the time required for coverage. Airless sprayers, however, require careful maintenance, particularly concerning the pump and nozzle, to avoid clogging. Air sprayers, on the other hand, provide a more controlled spray, suitable for intricate details or delicate siding. However, air sprayers may be less efficient for large areas compared to airless sprayers.
The selection of the sprayer type depends on the scale of the project and the specific requirements of the siding. Ensure the sprayer is compatible with the type of paint being used. Maintaining sprayers is critical for preventing malfunctions. Regular cleaning and maintenance procedures, including filter changes and pump inspections, are vital to ensure the sprayer’s optimal performance.
Other Equipment for Siding Painting
Other necessary equipment includes drop cloths, paint mixing tools, and safety gear. Drop cloths are used to protect surfaces not requiring painting, minimizing the risk of paint splatters. Proper paint mixing is crucial to ensure uniform paint consistency. Appropriate safety gear, including gloves, eye protection, and a respirator, is essential to protect against paint fumes and other hazards.
Tools Comparison Table
| Tool | Application | Considerations |
|---|---|---|
| Brushes (Natural Bristle) | Detailed, intricate edges, and small areas | Excellent paint holding capacity, potentially more expensive |
| Brushes (Synthetic Bristle) | Large areas, repeated use | Durable, resistant to water damage, suitable for various paint types |
| Rollers (Short Nap) | Smooth surfaces, minimizing roller marks | Efficient for large areas, easy to clean |
| Rollers (Long Nap) | Rough surfaces, accommodating texture variations | May leave slight roller marks on smooth surfaces |
| Airless Sprayers | Large areas, fast coverage | High pressure requires specialized maintenance, potentially more expensive. |
| Air Sprayers | Intricate details, delicate siding | More controlled spray, suitable for various paint types, less efficient for large areas |
Maintaining Painted Siding: Painting Your Siding
Source: pinimg.com
Proper maintenance is crucial for extending the lifespan and aesthetic appeal of painted siding. Regular care prevents premature deterioration, costly repairs, and maintains the curb appeal of your home. By understanding and implementing the right maintenance procedures, you can keep your painted siding looking its best for years to come.
Effective maintenance involves proactive measures to address potential issues before they escalate. This includes regular cleaning, prompt repairs, and understanding the importance of protecting your siding from environmental factors. Understanding the specific needs of your siding material and paint type is also essential for successful long-term care.
Regular Cleaning Procedures
Regular cleaning is vital for maintaining the appearance and integrity of painted siding. This involves removing dirt, grime, and mildew buildup, which can impact the paint’s longevity and aesthetic appeal. Using mild detergents and soft-bristled brushes, or a pressure washer (with appropriate settings), is re common method. A gentle approach is always recommended to avoid damaging the paint. Avoid harsh chemicals that could strip or discolor the paint. Schedule cleaning at least twice a year, or more frequently if needed, based on environmental conditions.
Addressing Fading and Mildew
Fading and mildew are common issues that affect painted siding over time. Sunlight and moisture contribute to these problems, impacting the siding’s appearance and potentially weakening the paint’s protective layer. Using appropriate cleaning solutions can help mitigate mildew growth. Regular inspection of the siding, especially in high-moisture areas, allows for timely intervention and prevents further damage. Consider using specialized mildew-resistant paints in future repainting projects. For significant fading, professional touch-ups or repainting may be necessary.
Repairing Damage
Siding can sustain damage from various sources, including impact from debris, weather events, or improper installation. Prompt repairs are crucial to prevent further damage and maintain the siding’s structural integrity. Replacing damaged boards or sections promptly is vital to prevent water damage, rot, and further structural issues. Assess the damage, identify the cause, and select the appropriate repair materials for the type of siding. Properly sealing gaps and cracks is important to prevent moisture penetration.
Preventing Damage from the Elements
Protecting siding from the elements is crucial for maintaining its long-term condition. Addressing potential issues like improper drainage can prevent water damage and mold growth. Proper roof overhangs and downspouts can help divert water away from the siding. Regular inspection for damaged flashing or gutters can prevent water from seeping into the siding. Consider using protective coatings or treatments to enhance the siding’s resistance to moisture, UV rays, and other elements. Periodic inspections are vital for detecting and addressing potential issues early.
Preparing for Repainting
Proper preparation is key for successful repainting. Thoroughly cleaning the siding is essential to remove dirt, mildew, and loose paint. Repairing any damaged sections is a critical step. Using a wire brush or sanding tools to remove loose or flaking paint, then priming the siding before repainting, will enhance the adherence and longevity of the new paint job. A comprehensive assessment of the siding’s condition will allow for a targeted and effective preparation strategy.
Siding Painting Projects
Painting your siding is a significant home improvement project. Careful planning and execution are crucial for a successful outcome. Proper preparation, selection of the right materials, and adherence to the correct techniques are key to achieving a long-lasting and aesthetically pleasing result. This section will detail the pre-painting preparations, essential tools, painting procedures, material management, and a post-project checklist to ensure a flawless job.
Pre-Painting Preparations
Minimizing damage to surrounding areas is paramount before commencing siding painting. This involves meticulous preparation to protect landscaping, walkways, and other structures from paint splatters and drips. Covering adjacent surfaces with drop cloths or plastic sheeting is essential. Thorough masking of windows and doors is also vital to prevent paint from getting on these surfaces. Furthermore, removing any loose debris or damaged sections from the siding itself is a critical step.
Essential Tools and Equipment
A comprehensive toolkit is necessary for a smooth painting process. This includes paintbrushes, rollers, and sprayers, depending on the siding type and the desired coverage. Proper scaffolding or ladders are crucial for safety and efficient application, particularly on higher structures. Paint trays, mixing containers, and drop cloths are also vital. A pressure washer is an optional but highly recommended tool to clean the siding before painting.
Painting Process
The painting process is broken down into distinct phases, from initial preparation to final touches.
- Surface Preparation: Thoroughly clean the siding to remove dirt, mildew, and loose paint. This will ensure proper adhesion of the new paint. Consider using a power washer to efficiently remove grime. Apply a primer if necessary to create a uniform surface and enhance paint adherence.
- Applying Primer (if needed): Applying a primer is an important step for preparing the siding. It seals the surface and helps the top coat adhere better, reducing the risk of peeling and cracking. Priming is especially beneficial for surfaces with damaged or old paint.
- Applying the First Coat: Carefully apply the first coat of paint using a brush, roller, or sprayer, depending on the type of siding. Work in sections to avoid inconsistencies. Ensure even coverage, paying attention to corners and edges. Allow the first coat to dry completely before applying the second coat.
- Applying Subsequent Coats (if necessary): If multiple coats are required, repeat the application process as described above, allowing each coat to dry completely before proceeding to the next. The number of coats will depend on the desired level of opacity and the quality of the paint used.
- Drying and Finishing: Allow the paint to dry thoroughly according to the manufacturer’s instructions. This usually involves several hours or even a day or two, depending on the type of paint and environmental conditions. Once completely dry, inspect the finished work for any imperfections or uneven areas and address them as needed.
Handling Leftover Materials
Proper disposal of leftover paint is crucial for environmental protection. Dispose of leftover paint and solvents according to local regulations. Empty paint containers should be cleaned thoroughly before disposal. Check with your local waste management authority for specific guidelines on disposal procedures for paints and solvents.
Post-Painting Checklist
A post-painting checklist is essential to ensure a high-quality finish and minimize future issues.
- Inspection: Inspect the painted siding for any missed spots, uneven areas, or drips. Pay particular attention to corners, edges, and joints.
- Touch-ups: Address any imperfections with touch-up paint, ensuring a seamless finish.
- Cleaning: Clean all tools and equipment thoroughly to prevent paint from drying on them. This will make future use easier and more efficient.
- Documentation: Document the project completion, including any details about the materials used and the process followed. This will prove helpful for future reference.
Last Point
In conclusion, painting your siding is a significant undertaking that requires careful planning and execution. This guide has provided a roadmap for every stage, from initial preparation to final maintenance. By understanding the nuances of different siding materials, paint types, and application methods, you’ll be well-equipped to transform your home’s exterior. Remember, a thorough understanding of preparation and meticulous application are key to achieving a long-lasting and aesthetically pleasing result.